
Tips & Tricks To Making Traditional Milk Kefir
Tara Carpenter, NC.
Nutrition Consultant helping people, of all ages, to create digestive strength.
Originally published on March 23, 2022.
I have made various kefir for years now and learnt a lot along the way to share here. Milk kefir is by far the easiest of ALL kefirs to make. You can also try your hand at apple cider kefir, hemp milk kefir, and young green coconut kefir …. see below for my tips and tricks to help you move through your learning curve that much easier 🙂
Find the recipe for traditional milk kefir here.

#1) I recommend making your milk kefir with Body Ecology starter as this contains 6 packets of potent strains of lactobacillus bacteria and beneficial yeast that are hardy and known to be able to travel to the intestines where they work magic ✨ These probiotics can rid the gut (mouth to anus) of any pathogenic overgrowth and strengthen digestion. Unlike most store-bought probiotics, the good flora in this starter aren’t easily destroyed by antibiotics, fluoride, stomach acid, or chlorine. Worth every cent. Cheaper than probiotic capsules from the store and more efficient imo.
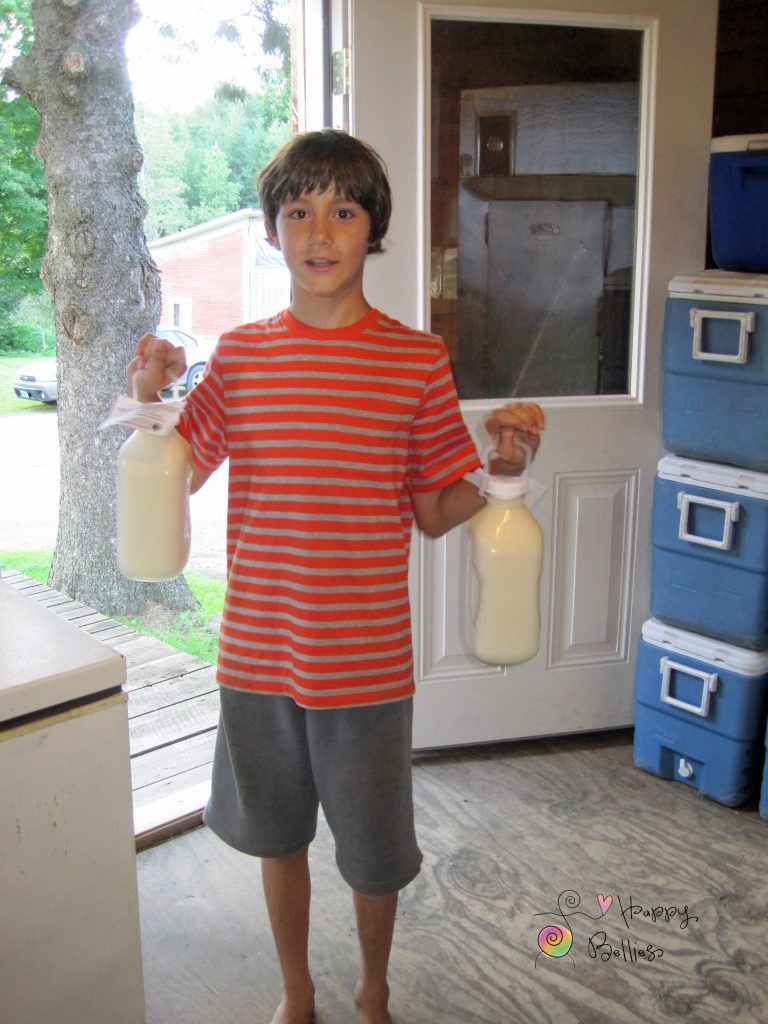
#2) Use unprocessed or processed milk from pastured cows. I source mine raw from a certified farmer in Vermont where I live. Raw milk contains live enzymes and probiotics with a physical/biochemical structure that is untouched and recognized by the human body. If I can’t get raw milk then I use organic, gently-pasteurized whole milk. I avoid highly pasteurized, homogenized dairy which is a foreign substance to the body (dead, acidic, mucus forming). If this is all you can find know that during the kefir process, the good flora from the kefir packet will reinvigorate some of that life/vitality back in milk.
#3) You can use the milk kefir recipe here to make goat milk kefir. Just use 2 cups of goat milk instead and a starter packet for the initial batch. After that make as much as you want, depending how much liquid you have to transfer from your previous/initial batch.
#4) I add a scoop of Ecobloom to all my kefirs, learn more here.
#5) Milk kefir will continue to ferment (digest) in the fridge at a much slower pace. I make a big batch at once and keep the jars in back of fridge where they keep for weeks, even months. I don’t recommend going big until you feel confident.
May all bellies be happy!
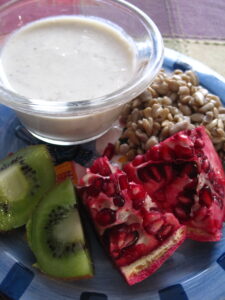
Milk kefir food combines well with fruit and soaked seeds for a delicious breakfast as shown in the photograph above.
Disclaimer: This post may contain affiliate links for products I believe in and use on a regular basis. See more here. Content is for general information only, primarily educational in nature, and should not be treated as a substitute for the medical advice of your primary health-care practitioner that you, the reader, may require for any cause whatsoever, now or in future. Consult a primary practitioner regarding any health problem(s) you have and keep them informed to the opinions, ideas, and advice on this site that you find useful. Full disclaimer here. Email tara@happybellies.net for questions.
© 2026. Happy Bellies Therapeutic Nutrition blog postings are copyrighted information. Do not repost my recipe or post on your blog, Facebook, website, etc. Posting ingredients and sharing my photos permitted with a link back to my site for full recipe/post.
